
If you’ve been keeping up with SEO and AI changes, you’ve probably noticed that big blogs now include a table of contents in their sidebar. There’s a reason for that, and it’s not just about design.
A sidebar helps both readers and AI tools (like ChatGPT and Gemini) easily scan your blog content. When your posts are organized with clear headings and a visible table of contents, it makes it easier for AI to understand your structure, which can increase your chances of being cited.
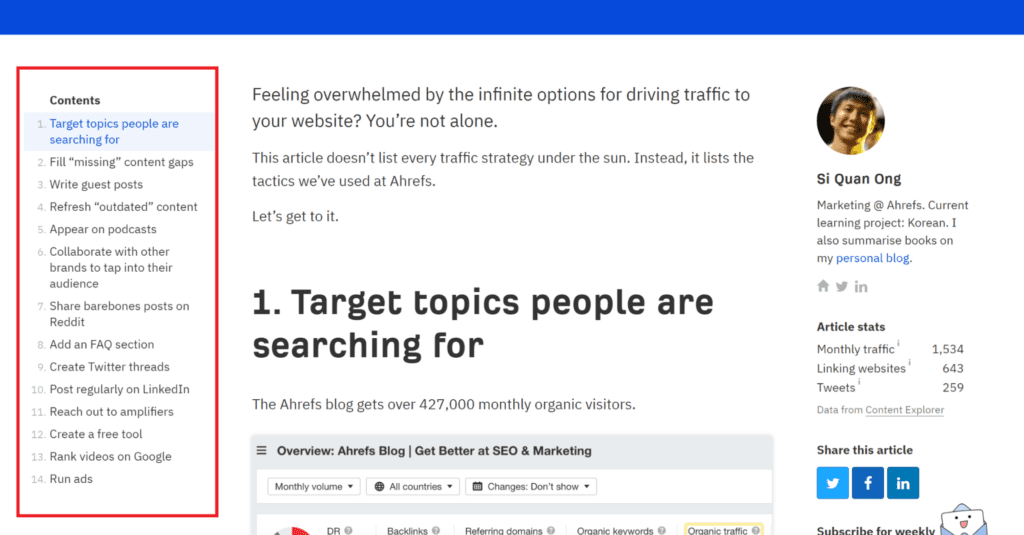
Why You Need a Table of Contents in Your Sidebar
Some businesses make their moves after their competitors do.
Think of McDonald’s — they spend millions figuring out the best location for a new store. What’s Hungry Jack’s strategy? Just move next door to McDonalds and save the millions in research.
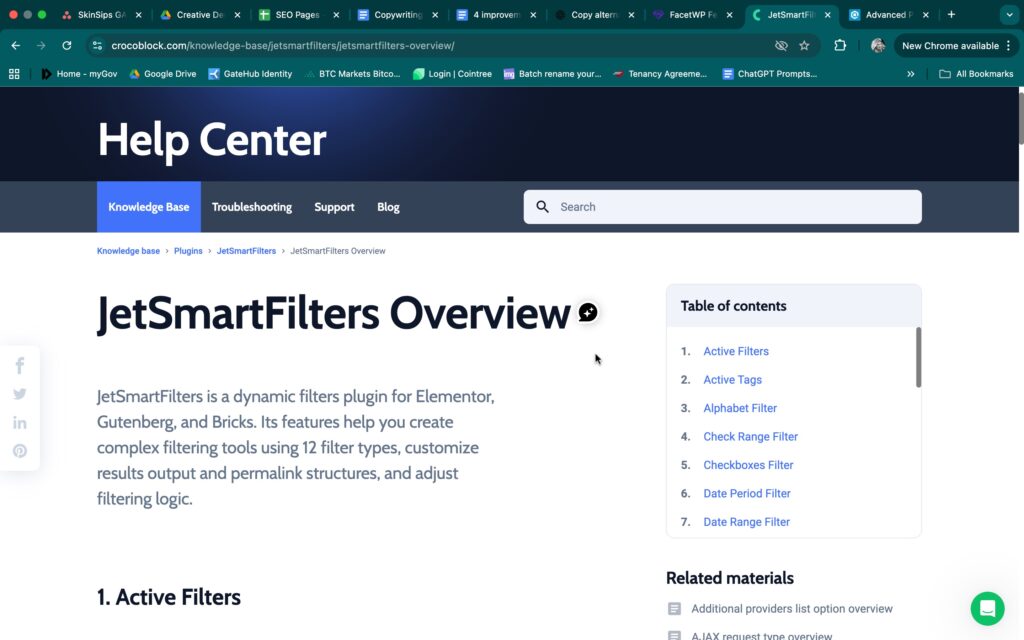
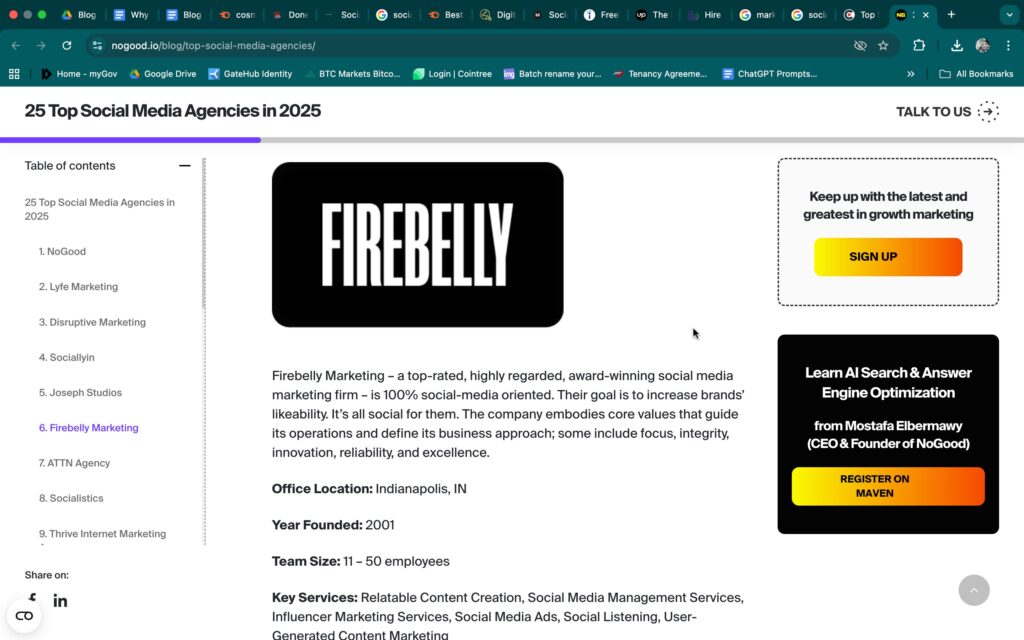
In SEO, it’s the same thing. When you start seeing big tech and major media brands quietly making layout changes, that’s your sign to pay attention. One of those changes?
They’re all adding a table of contents in the sidebar and it’s a simple smart improvement that really helps be cited more on AI Answers.
Why Does A Table of Contents helps Appear in Ai Answers?
1. It helps AI grab the right “chunks” of your content
- AI search engines break pages into small sections, not whole pages.
- A Table of Contents Bar creates clear sections using headings (H2 and H3) so AI can quickly see what each part is about.
- When each section reads like a mini answer, the AI is more likely to quote that section in its response.
2. It naturally structures your content for AI
- A TOC encourages you to use clear headings and short sections, which are much easier for AI to scan and summarize.
- It gives you a place to organize things like FAQs, comparison tables, and “best of” sections, which AI tools love to use in answers.
- This structure also works well with schema like FAQPage or HowTo if you add it later.
3. It makes your blog more citation worthy
- Well structured content looks more expert and trustworthy, so it is more likely to be cited in AI answers.
- A detailed TOC shows that you cover the topic in breadth and depth, which helps AI engines see your post as a strong authority on the subject.
If You’re on the Basic Showit Blog Plan
This tutorial is for the Advanced Showit plan, which allows you to install plugins like SimpleTOC and Joli Table of Contents.
If you’re on the Basic Blog plan, things get a little trickier. You can’t install plugins, which means you can’t automatically generate a table of contents in your sidebar.
I highly recommend upgrading to the Advanced plan — it gives you access to all the SEO-friendly features and tools that make a huge difference for ranking and AI visibility. If you want to change to the advanced plan, contact very helpful customer services and they will make the change for you.
But if you’d rather stay on the Basic plan, you can still manually add a table of contents inside your blog post (not in the sidebar). It takes a few extra steps, but it works!
You can follow my step-by-step guide here:
👉 How to Add a Table of Contents on Showit (Basic Plan)

What You’ll Need to Add a TOC to Showit Blog
To add a sidebar, you’ll need:
- A Showit website (on the Advanced Blog Plan)
- A WordPress blog connected to your Showit site
- The SimpleTOC – Table of Contents Block plugin
Recommended Plugins
I’ve tested several plugins, and here’s what I recommend:
- SimpleTOC – Table of Contents Block
The simplest and most reliable option. It’s shortcode-based, so it works perfectly with Showit. - Joli Table of Contents
If you want more design flexibility (colors, styles, icons), this one’s great — though it’s slightly more advanced.
For my full list of must-have plugins for Showit, you can read here.
How to Add a Sidebar to Your Showit Blog
Here’s the step-by-step guide:
Step 1: Open your Showit website builder.
Go to your Single Post template (this controls the layout of your individual blog posts).
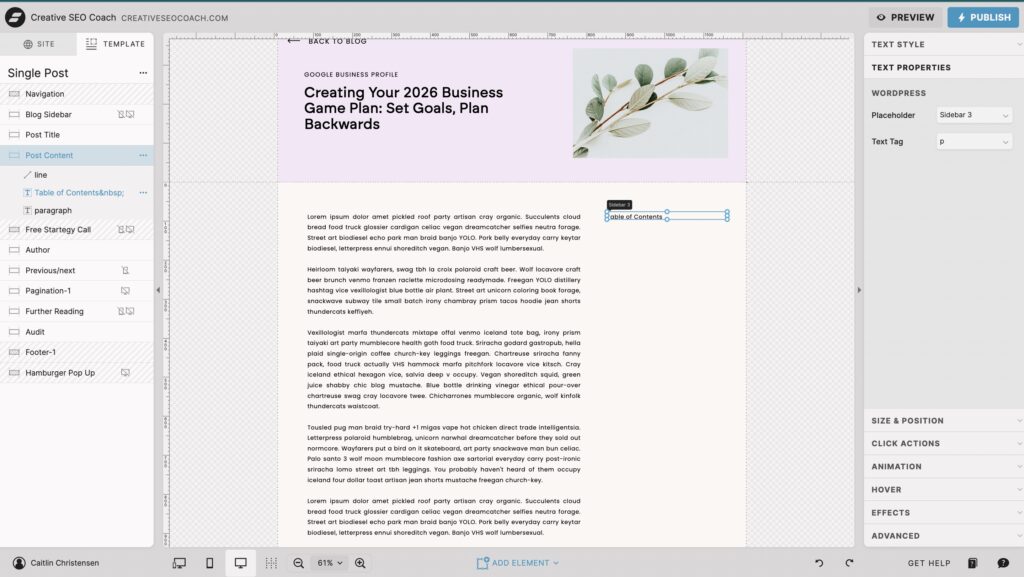
Step 2: Add a table of contents section.
- Select for Post Content and add a text block for the sidebar.
- Go to ‘Text Properties’
- For ‘PlaceHolder’ choose ‘Sidebar 3‘
- Text Tag can stay at (p) paragraph
Step 3: Switch to your WordPress blog dashboard
Go to Plugins → Add New, then search for and install SimpleTOC.
Activate the plugin.
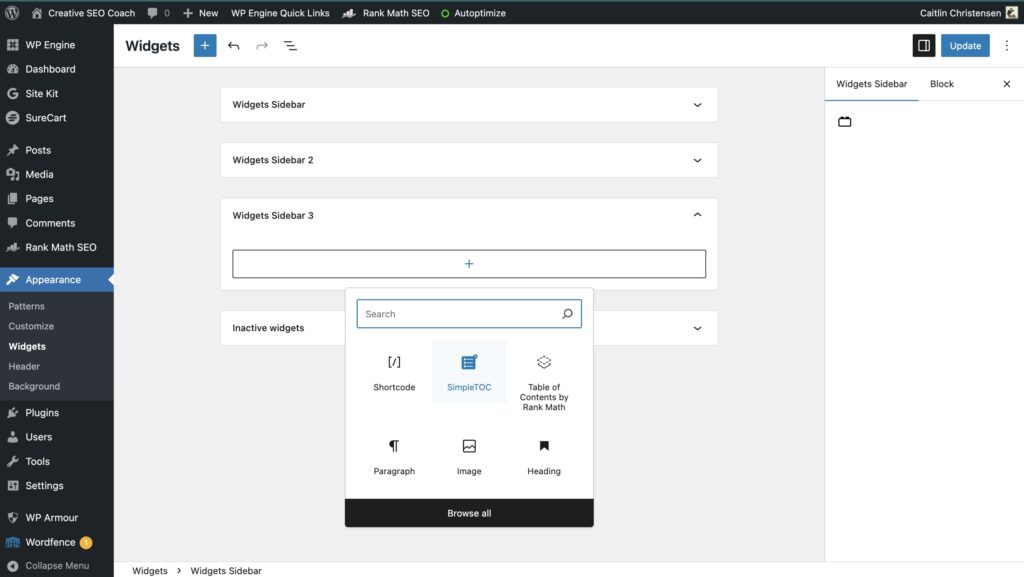
Step 4: Add it to your sidebar widget.
- Go to Appearance → Widgets
- Click the + icon
- Search for SimpleTOC and select it

Step 5: Adjust your settings
Set the Maximum Level to H3 for a clean look.

Step 6: Click Update.
That’s it. Your sidebar and table of contents are now live.
Optional: Style It
If you want your sidebar to stand out visually, you can add a border or a background color directly in Showit, or use simple CSS in WordPress to adjust font color, padding, or alignment.
TLDR: Final Thoughts
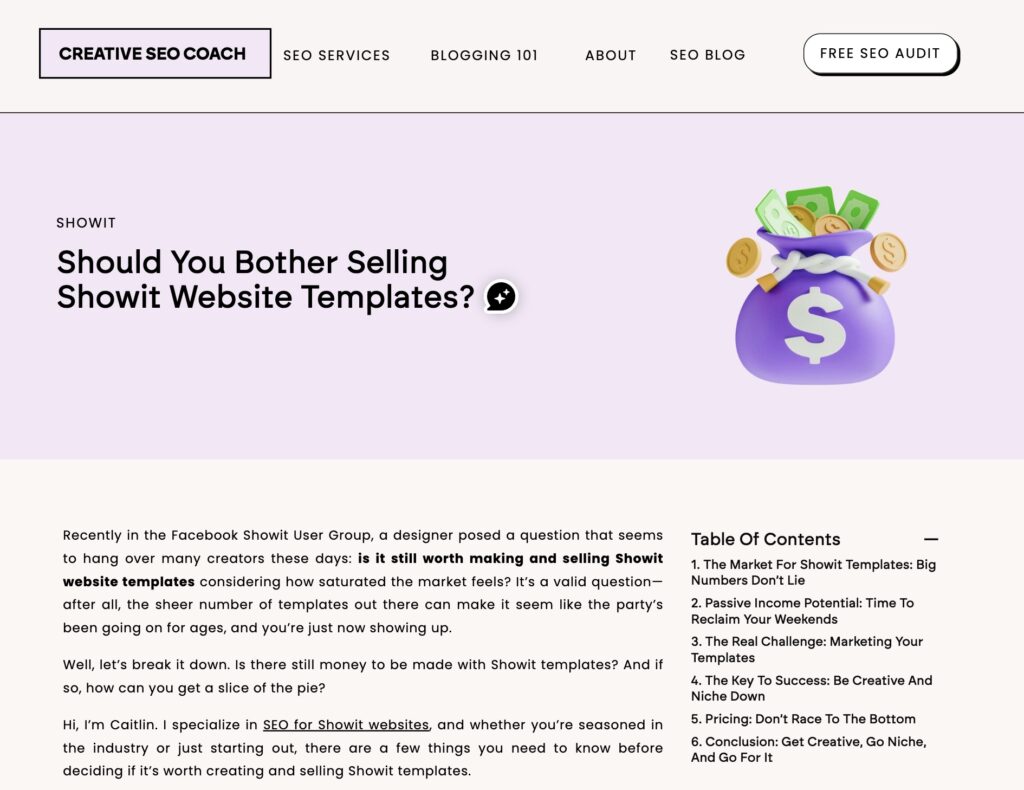
Adding a sidebar with a table of contents might seem like a small change, but it’s one of those updates that quietly transforms your blog’s performance — both for your readers and for AI tools like ChatGPT.
If you’re on the Advanced Showit plan, take advantage of it. A well-structured sidebar helps your posts look more polished, improves how search engines and AI scan your site, and makes it easier for readers to navigate your content.
If you’re still on the Basic Blog plan, you can absolutely create a table of contents manually — it just takes a little more time and patience. You can follow my step-by-step guide here:
👉 How to Add a Table of Contents on Showit (Basic Plan)
That said, I highly recommend upgrading to the Advanced plan when you can. It unlocks features that make your SEO setup so much easier — and faster — to manage.
The reality is, AI tools are constantly learning from the web, and structured content (like TOCs, schema, and sidebars) helps your blog get picked up and cited more often. The earlier you start optimizing for this, the more visibility your website will have — not just on Google, but inside AI search results too.
To Learn more about the future of SEO Check out my Article on What is AEO?
If you want me to check how your Showit site is currently performing (and whether ChatGPT can actually find you), request a free video audit. I’ll show you exactly what’s working and what to fix first.


